Activate NowButtons for WordPress
Estimated time to complete: 2 minutes
Requirements: Call Now Button plugin installed
A step-by-step guide to activating NowButtons for WordPress:
Step 1
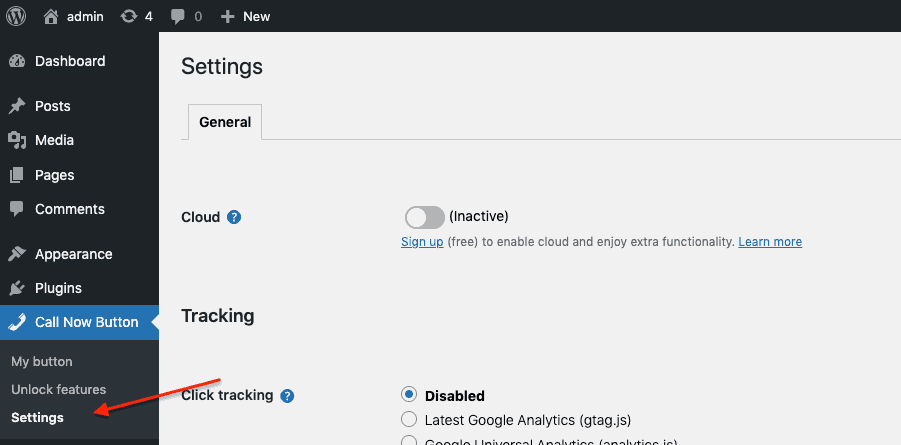
Inside your WordPress admin dashboard, go to the Settings page of Call Now Button.
Step 2
On the General tab, look for the NowButtons for WordPress setting and click on the toggle to set it to Active it. Now press Save Changes.

Step 3
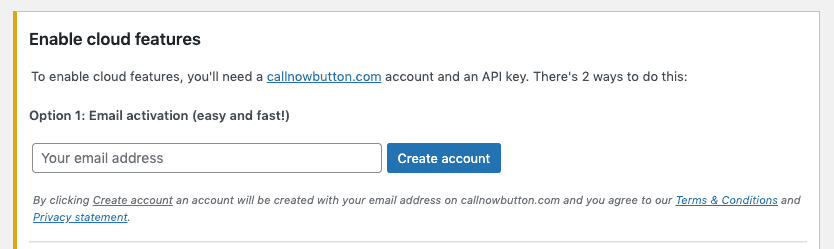
In the panel that appears at the top of your screen, look for Option 1: Email activation. Here you enter your email address. This email address will be used for creating your account. Then click Create account.
Step 4
Now go to your email inbox and look for an email to arrive with a subject starting with Activate NowButtons for WordPress for . Open the email and click on the button Confirm Activation.

Step 5
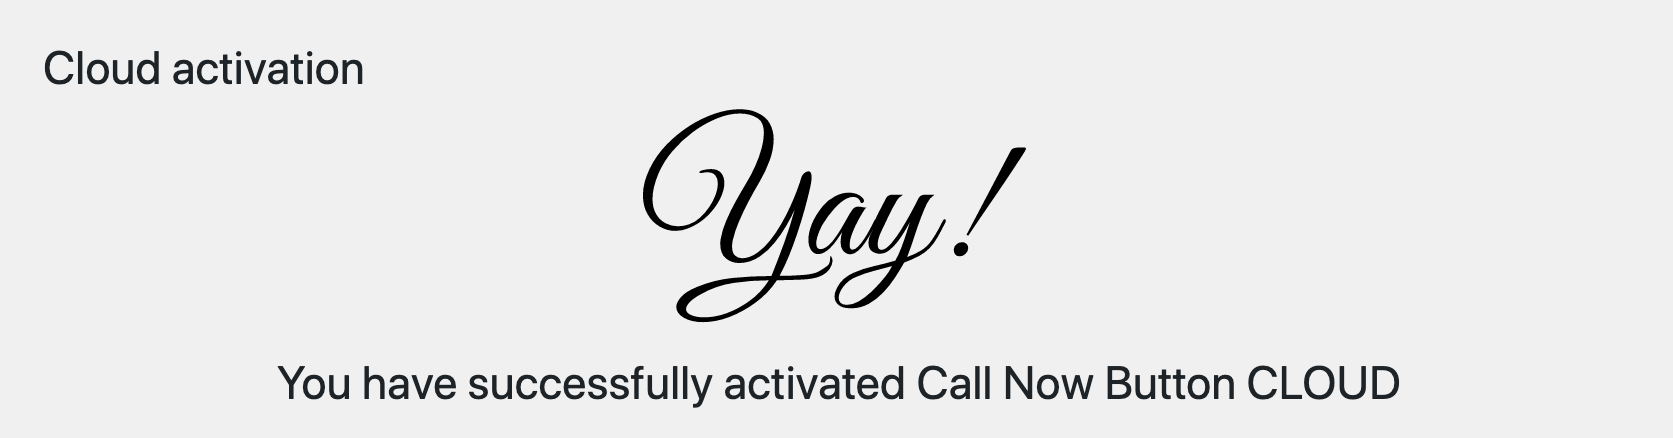
You are now taken back to your WordPress admin panel and see a screen that confirms that NowButtons for WordPress has been activated.
Step 6
On the confirmation screen, look for the Timezone and correct this if needed (a correct timezone is required for the scheduler to function properly.)

NowButtons for WordPress is now active and you can start adding multiple buttons to your website!
Did this answer your question?