Custom button images
Estimated time to complete: 1 minute
Requirements: Call Now Button plugin installed, The domain must be on the PRO plan
The instruction below apply to the WordPress plugin. Click here for instructions for adding a custom button image in the web app.
Adding custom images is a PRO feature. More information on how to upgrade your domain to PRO.
When the button icons that are available to you are not suitable for your button, you have the option to add your own image.
How to add your own image to a button?
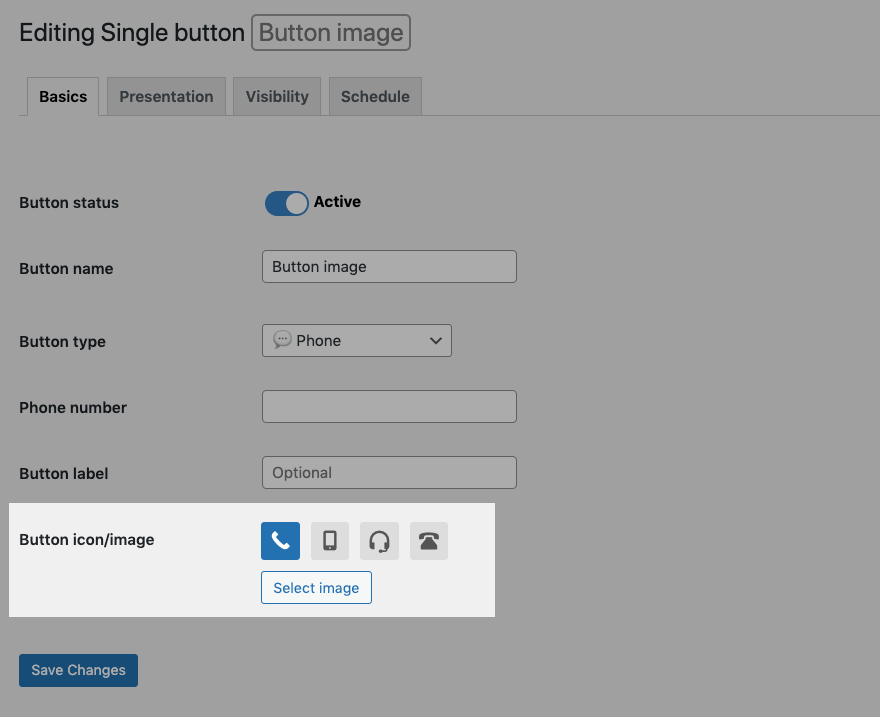
Step 1
When editing your button, locate the Button icon/image option and click the Select image button.
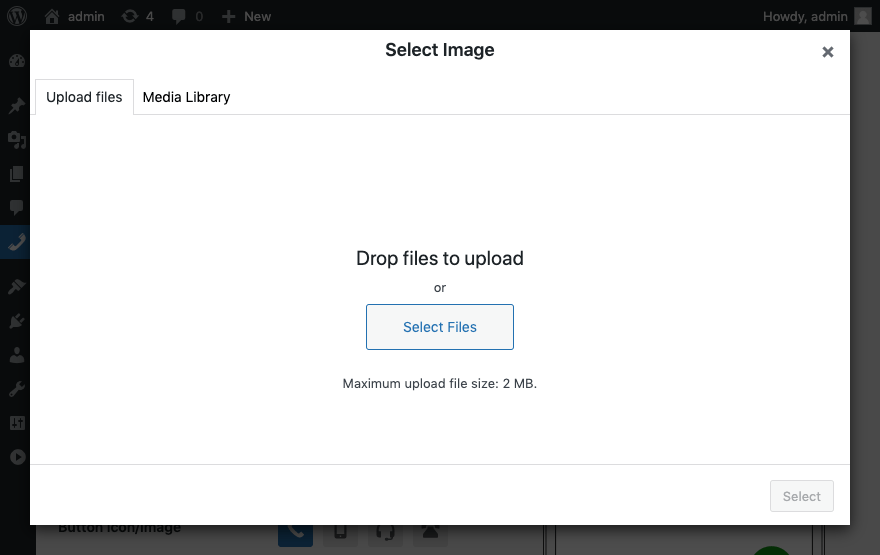
Step 2
The WordPress native Media Gallery appears and you can either select an image from there or upload a new one via the Upload files tab and then clicking on Select files.
Step 3
Once the image has been uploaded, you will see it selected in the Media Gallery. Now click Select in the bottom right corner.

Step 4
The image is now added to your button. Click Save Changes at the bottom to save it.

You can also add animated gif images to really spice things up.
Did this answer your question?