Setting up click tracking in GA UA with Google Tag Manager
Estimated time to complete: 20 minutes
Requirements: Call Now Button plugin installed, Google Analytics (UA) implemented through Google Tag Manager
Keep reading if you’ve implemented Google Analytics via Google Tag Manager. This article describes step by step how to set up Event Tracking with Google Tag Manager to reveal in Google Analytics how many people click the Call Now button on your website.
High level overview of the steps involved
Enable the required click variable in Google Tag Manager
Create 2 custom variables for the actions
Creating the Trigger in Google Tag Manager
Creating the Tag in Google Tag Manager
Publish your changes in Google Tag Manager
Sign into your Google Tag Manager account and let’s get started!
Step 1: Enable the required click variable in Google Tag Manager
Before you set up the actual event you need to enable the build-in variable for tracking clicks on an element with a specific class name.
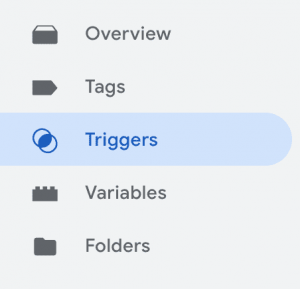
- Click on Variables in the menu on the left side of the screen:
Google Tag Manager - Variables in the side menu - Click Configure
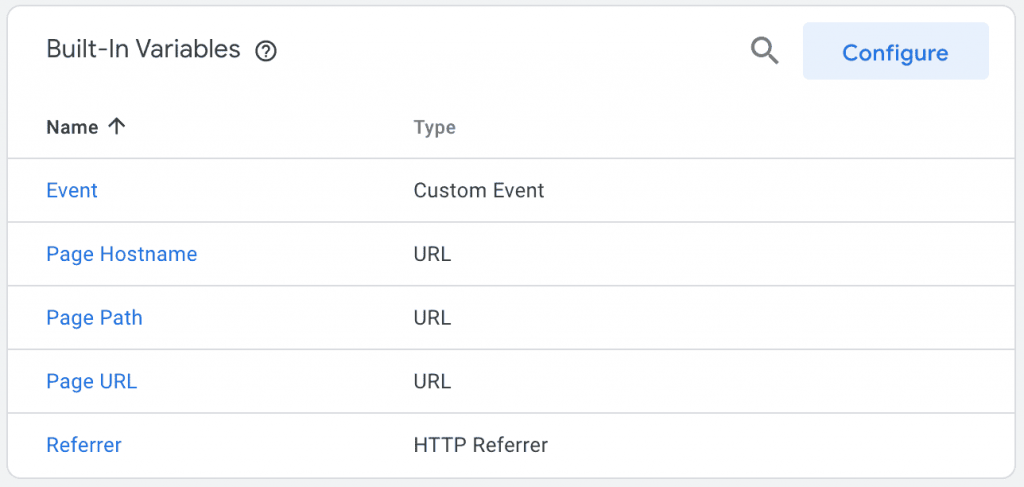
Tag Manager - Configure Built-in Variables - Scroll down to the Clicks section and select Click Classes.
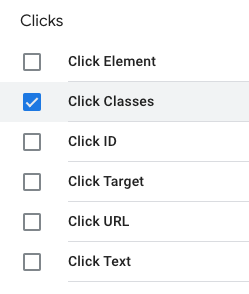
Google Tag Manager - Enable Click Classes variable
Step 1 done!
Step 2: Create 2 custom variables for the actions
The custom variable for the Action type
-
Again open the Variables section from the previous step and now scroll down to the User-Defined Variables:
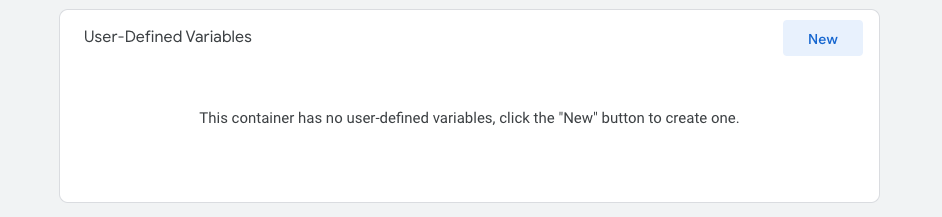
GTM - The user-defined variable - Click New and name the new variable
NowButtons action. - Click on the pencil that appears when you hover over the Variable Configuration box.
- In the Choose variable type panel that appears, select Data Layer Variable.
- In the field called Data Layer Variable Name enter the following:
gtm.element.dataset.actionTypeand click Save.

GTM - Create a custom variable for the button action
The custom variable for the Action label
- If you're not in the Variables section anymore, open it again and scroll down to the User-Defined Variables
- Click New again to create another variable and name it
NowButtons label. - Click on the pencil that appears when you hover over the Variable Configuration box.
- In the Choose variable type panel that appears, select Data Layer Variable again.
- In the field called Data Layer Variable Name enter the following:
gtm.element.dataset.labelTextand click Save.
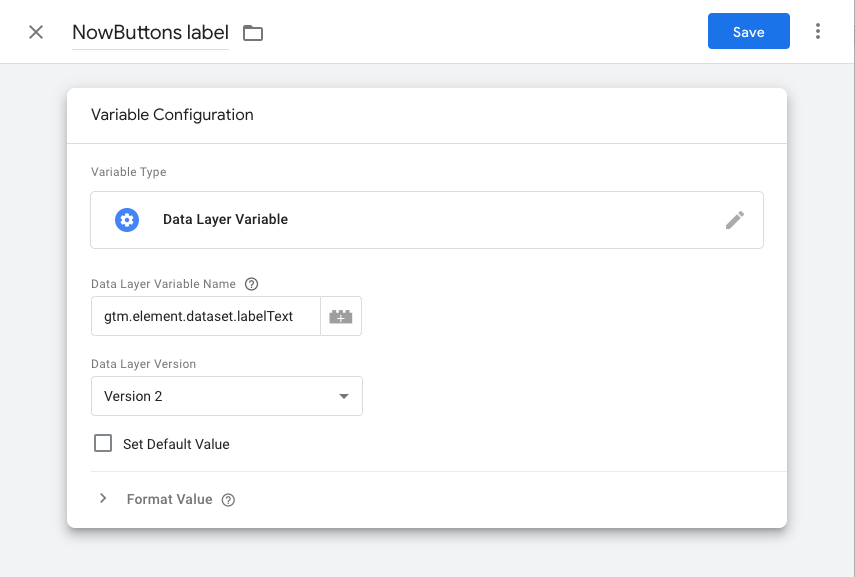
GTM - Create a custom variable for the button label
That's step 2 done!
Step 3: Creating the Trigger in GTM
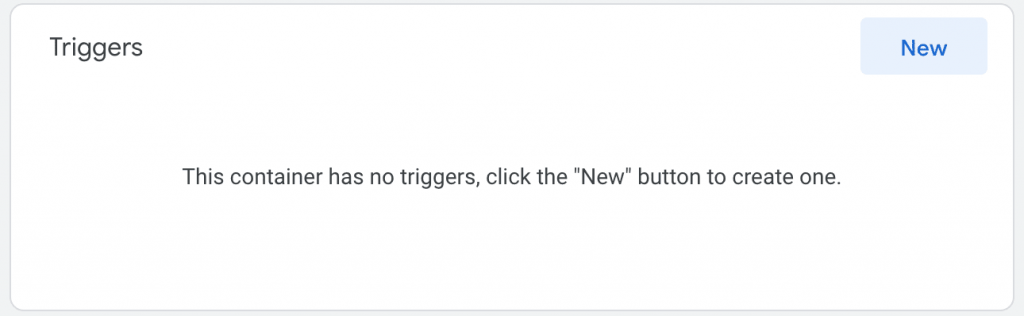
- Now click on Triggers in the left side menu:
GTM - Creating a Trigger - Click New
Google Tag Manager - Building a new Trigger - Give your new Trigger a name: NowButtons clicks and click the pencil (appears when you hover over the box) in the top right corner:
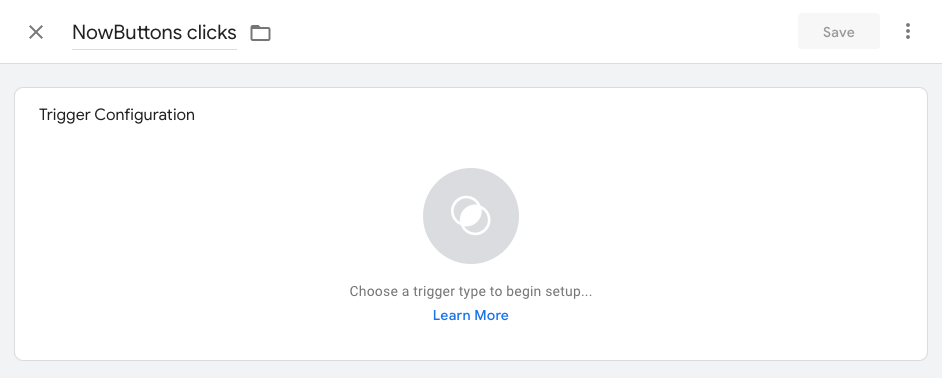
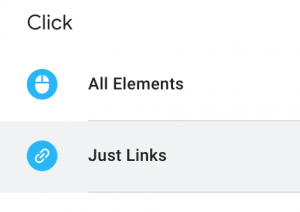
Google Tag Manager - New Triggers - Under Choose trigger type select Just links:
Google Tag Manager - Clicks Just Links - Under This trigger fires on select Some link clicks. Then from the pull-down menu select the variable you’ve just enabled: Click Classes, change the second pull-down to equals and in the empty field you enter cnb-action
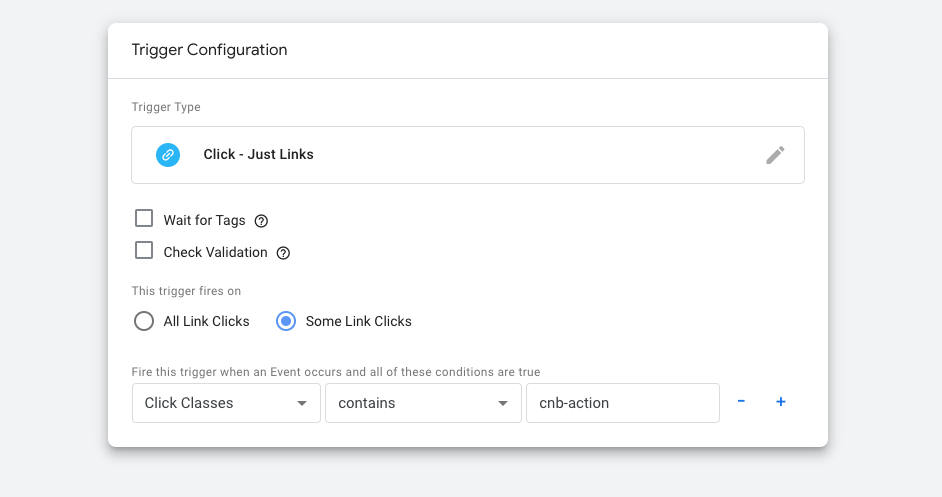
Google Tag Manager: trigger settings - Click Save to store your new Trigger.
That's step 2: DONE!
Step 4: Creating the Tag in GTM
- Click on Tags in the left side menu:
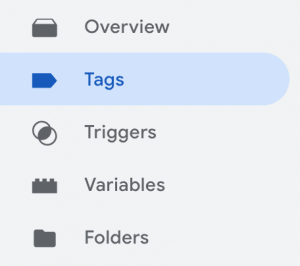
The Tags setting is located in the left side menu of Google Tag Manager (GTM) - Click New:
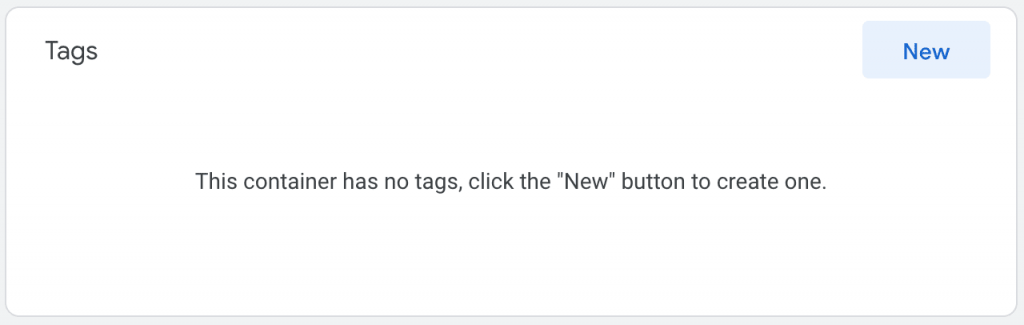
Google Tag Manager - Creating Tags in GTM - Give your new Tag a name: NowButtons click tracking and click the pencil (appears when you hover over the box) in the top right corner:
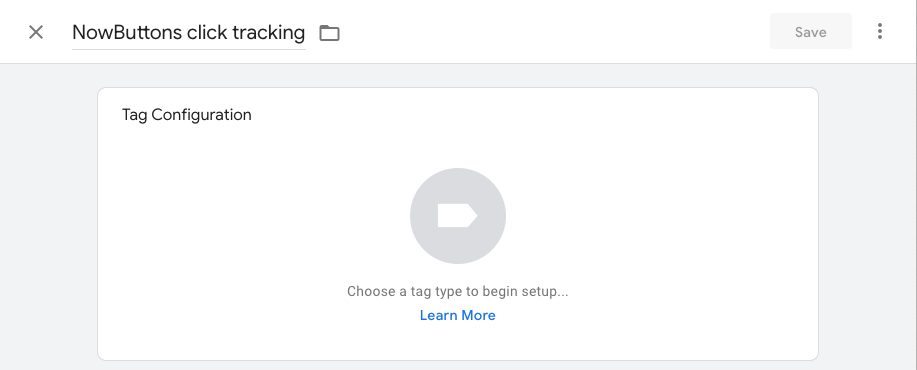
Google Tag Manager - New Tags - At the top of the Choose tag type list that appears, select Google Analytics: Universal Analytics.
- Then select Track type: Event and enter the following information:
- Category: NowButtons
- Action: click on the lego block next to it and select the NowButtons action variable you created in step 2
- Label: click on the lego block next to it and select the NowButtons label variable you created in step 2
- Non-Interaction Hit: False
- You can leave the value field empty unless you wish to add a certain value to a button click.
- Under Google Analytics settings select your Google Analytics account (should be in the list if you have implemented Google Analytics via Google Tag Manager).
The whole window should look something like this this: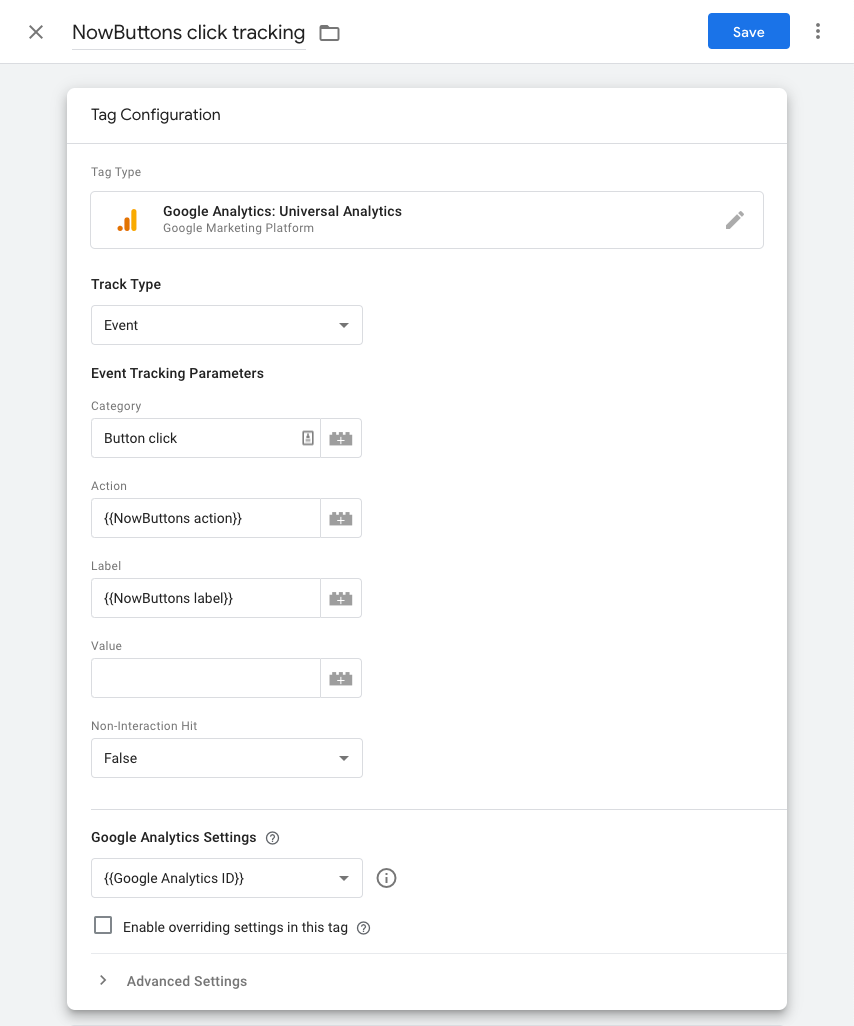
Google Tag Manager: GA Event Tracking settings - Now in the window below called Triggering click the pencil:
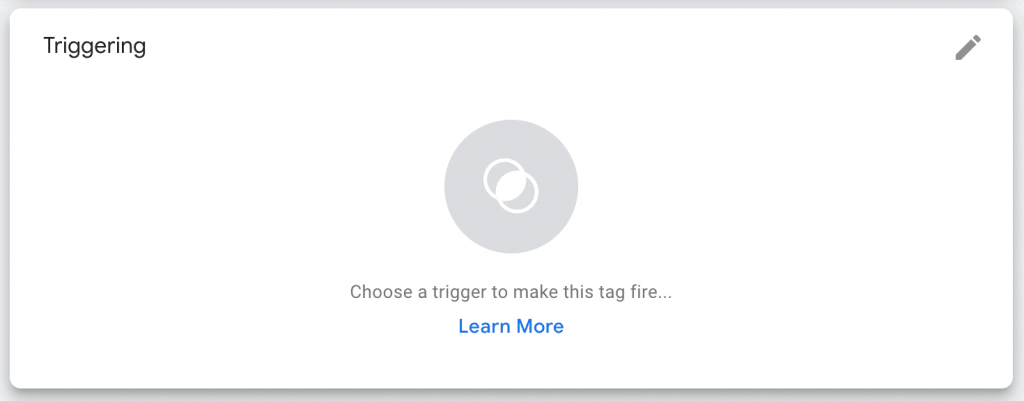
Google Tag Manager - triggering the tag - In the Choose a trigger window select the Trigger you created in step 2 called NowButtons clicks.
- Click Save and you’re all set.
Step 5: Publish your changes in GTM
The final step is to publish your work in Google Tag Manager and you're all set!
Once this is live you should see the clicks on any of the NowButtons appear in your Google Analytics account under Behavior > Events > Overview:
Did this answer your question?